Cooking a steak to perfection can be challenging, but an air fryer offers a convenient, quick, and efficient solution. The trick is knowing how to get a tender, juicy steak without losing its flavor or texture. This guide will take you through every aspect of preparing and cooking steak in an air fryer, ensuring your meal turns out amazing every time.

Part 1: Introduction to Air Fryer Steak Cooking
1.1 What is an Air Fryer and How Does it Work?
An air fryer is a compact kitchen appliance that cooks food using hot air circulation. Think of it as a smaller, more efficient convection oven. Instead of submerging food in oil, an air fryer uses powerful fans to circulate heated air, creating a crispy exterior with minimal oil.
For steak, this method ensures even cooking with less grease. The rapid air circulation not only cooks food faster but also locks in natural flavors.
1.2 Why Choose an Air Fryer for Cooking Steak?
Air fryers are ideal for cooking steak because:
- They allow precise control over temperature.
- Their quick cooking reduces the risk of over-drying the meat.
- The appliance is compact and easy to clean.
1.3 Key Challenges of Cooking Steak in an Air Fryer
Despite its advantages, cooking steak in an air fryer comes with challenges:
- Risk of dryness: Without proper preparation, steak can lose moisture quickly.
- Uneven cooking: Overcrowding the air fryer can result in an uneven cook.
- Overcooking: Small cooking windows can make it easy to overshoot your desired doneness.
Mastering these challenges involves understanding the steak’s cut, thickness, and doneness preferences.
1.4 Overview of Steak Cuts Suitable for Air Frying
Not all cuts are created equal when it comes to air frying. The following are excellent choices:
- Ribeye: Known for its marbling and tenderness.
- Sirloin: A leaner option with robust flavor.
- Filet Mignon: Best for special occasions; very tender.
- New York Strip: A balance of tenderness and flavor.
Cuts with higher fat content often yield the best results in an air fryer due to their ability to retain moisture.
1.5 Benefits of Using an Air Fryer for Steaks
Here’s why you should try cooking steak in an air fryer:
- Time-efficient: Steaks cook in under 15 minutes.
- Healthier results: Minimal oil means fewer calories.
- Flavor preservation: High-speed cooking locks in juices.
For those balancing a busy lifestyle with a love for gourmet meals, the air fryer is a game-changer.
1.6 Essential Tools and Accessories for Air Frying Steaks
To make the most of your air fryer:
- Use a meat thermometer to check doneness.
- Invest in silicone tongs to avoid scratching the fryer basket.
- Consider a grill rack insert for better airflow around the steak.
1.7 Common Mistakes When Cooking Steak in an Air Fryer
Avoid these pitfalls:
- Skipping preheating: An unheated air fryer can result in uneven cooking.
- Overcrowding: This blocks air circulation, causing undercooked spots.
- Using the wrong cut: Tough cuts can become dry and chewy.
1.8 Factors Affecting Steak Dryness in an Air Fryer
Several factors can make or break your steak:
- Thickness of the cut: Thin steaks dry out faster.
- Cooking time: Overcooking strips the steak of moisture.
- Preparation techniques: Proper marination and seasoning are crucial.
1.9 Understanding Steak Doneness Levels
Knowing the temperature ranges for doneness ensures precision:
- Rare: 120–130°F
- Medium-Rare: 130–135°F
- Medium: 135–145°F
- Well-Done: 155°F+
Use a digital thermometer for best results.
1.10 Preparing for the Perfect Air Fryer Steak
Preparation is key. Here’s how to set the stage for success:
- Choose the right steak cut based on your taste preferences.
- Bring the steak to room temperature to ensure even cooking.
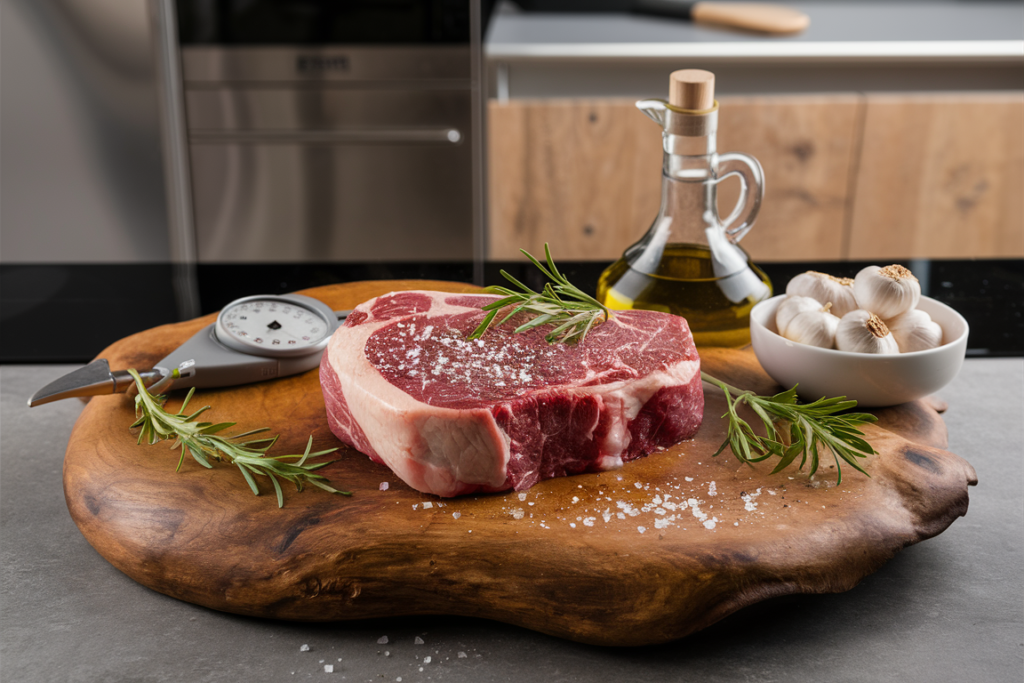
- Season generously with salt, pepper, or your favorite rub.
Common Mistakes and How to Avoid Them
- Neglecting Rest Time: Always let your steak rest for at least 5 minutes after cooking.
- Skipping Oil Application: A light coat of oil helps create a caramelized crust.
Part 2: Preparation for Air Fryer Steak Cooking

2.1 Selecting the Right Cut of Steak for the Air Fryer
The choice of steak cut determines texture and juiciness. While fattier cuts like ribeye or New York strip are more forgiving and yield tender results, leaner cuts like sirloin require extra care to avoid drying out.
Pro tip: Look for well-marbled cuts, as the fat melts during cooking, keeping the steak moist. When in doubt, choose a cut with a visible fat cap or marbling for the best results.
2.2 Ideal Thickness for Air Fryer Steaks
Thickness plays a vital role in determining cooking time and ensuring even results:
- Recommended thickness: 1 to 1.5 inches.
- Why it matters: Thicker steaks retain moisture better and allow you to achieve a good crust without overcooking the interior.
Thin steaks, while quick to cook, are prone to drying out. For thinner cuts, reduce cooking time and use a marinade to boost moisture content.
2.3 How to Properly Season Your Steak Before Cooking
Seasoning is your first opportunity to infuse flavor into the steak. Here’s how to do it:
- Salt: Use coarse salt to draw out the natural juices and enhance flavor.
- Pepper: Freshly cracked black pepper adds depth and a slight kick.
- Herbs and spices: Garlic powder, paprika, thyme, or rosemary are excellent additions.
Apply the seasoning at least 30 minutes before cooking, allowing it to penetrate the meat. Alternatively, you can season just before placing the steak in the air fryer for a more subtle flavor.
2.4 Using Marinades to Enhance Juiciness
Marinades are perfect for lean cuts like sirloin. They not only add flavor but also tenderize the meat. Here’s a simple marinade recipe:
- Ingredients: Olive oil, soy sauce, minced garlic, lemon juice, and a pinch of sugar.
- Duration: Marinate the steak for 30 minutes to 2 hours in the refrigerator.
Avoid overly acidic marinades for long periods, as they can break down the protein too much, resulting in a mushy texture.
2.5 Preheating the Air Fryer for Even Cooking
Preheating ensures that the air fryer reaches the desired temperature before you place the steak inside. Here’s why it matters:
- Promotes even cooking from the first second.
- Helps create a seared crust.
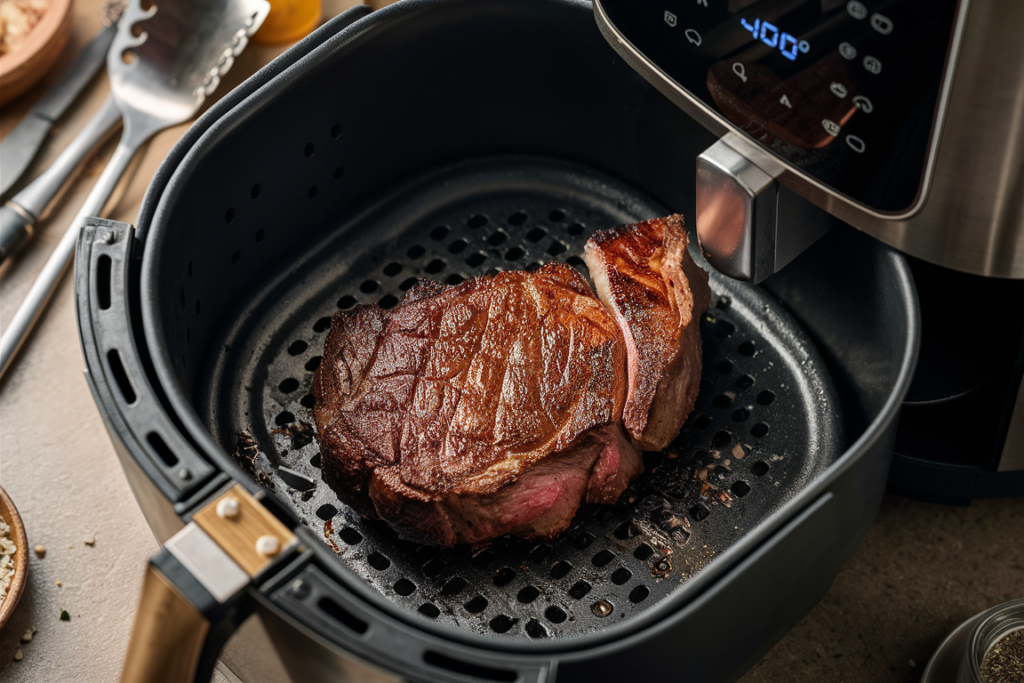
Set the air fryer to the recommended temperature (typically 400°F for steak) and preheat for 3–5 minutes.
2.6 Bringing Steak to Room Temperature Before Cooking
Taking the steak out of the refrigerator 30 minutes before cooking allows it to cook more evenly. Cold steak in a hot air fryer can result in a cooked exterior but an underdone interior.
2.7 Applying Oil or Cooking Spray: Is It Necessary?
A light coating of oil is essential for two reasons:
- Prevents sticking in the air fryer basket.
- Encourages the Maillard reaction (browning) for a crisp, caramelized crust.
How to apply oil:
- Use a high-smoke-point oil, such as avocado or canola oil.
- Lightly rub or brush the oil directly onto the steak.
Avoid over-oiling, as it can create smoke in the air fryer.
2.8 Preparing the Air Fryer Basket to Avoid Sticking
To prevent your steak from sticking:
- Lightly spray the basket with cooking spray or rub it with oil.
- Place a perforated parchment paper or a grill rack insert at the bottom of the basket.
These steps also make cleanup easier.
2.9 Resting Time Before Placing Steak in the Air Fryer
Resting the steak before cooking allows the seasoning to settle and the steak to reach room temperature. This helps:
- Even out internal moisture.
- Prevent the steak from contracting too much when exposed to heat.
Allow the steak to rest for 5–10 minutes after seasoning.
2.10 Tools for Monitoring Steak Doneness
Investing in the right tools ensures precise results:
- Digital meat thermometer: A must-have for checking internal temperature.
- Kitchen timer: Essential for tracking cooking intervals.
- Tongs: Use silicone or metal tongs for flipping without piercing the steak.
Pro tip: Avoid cutting into the steak to check doneness, as this releases valuable juices.
Pre-Cooking Checklist for Success
Before placing your steak in the air fryer:
- Select a well-marbled cut of steak.
- Ensure the steak is at room temperature.
- Apply a light coating of oil and season thoroughly.
- Preheat the air fryer for even heat distribution.
- Use tools like a thermometer and grill rack for precision.
Common Pitfalls to Avoid During Preparation
- Skipping preheating: Leads to uneven cooking.
- Using too much oil: Creates unnecessary smoke.
- Neglecting to rest the steak: A crucial step for retaining juiciness.
With your steak prepped and your air fryer ready, it’s time to move on to the cooking process itself. Mastering temperature, timing, and flipping are the next steps in creating the perfect air fryer steak.
How to Cook a Steak in an Air Fryer Without It Drying Out (Part 3)
In Parts 1 and 2, we explored the importance of preparation, the ideal steak cuts for air frying, and how to get your steak ready for cooking. Now, in Part 3, we’ll walk you through the step-by-step cooking process to ensure your steak comes out juicy, tender, and full of flavor every time.
Part 3: Step-by-Step Guide to Cooking Air Fryer Steaks
3.1 Setting the Right Temperature and Time
The temperature and cooking time are critical to achieving your desired doneness. Here’s a simple guide based on steak thickness and doneness preference:
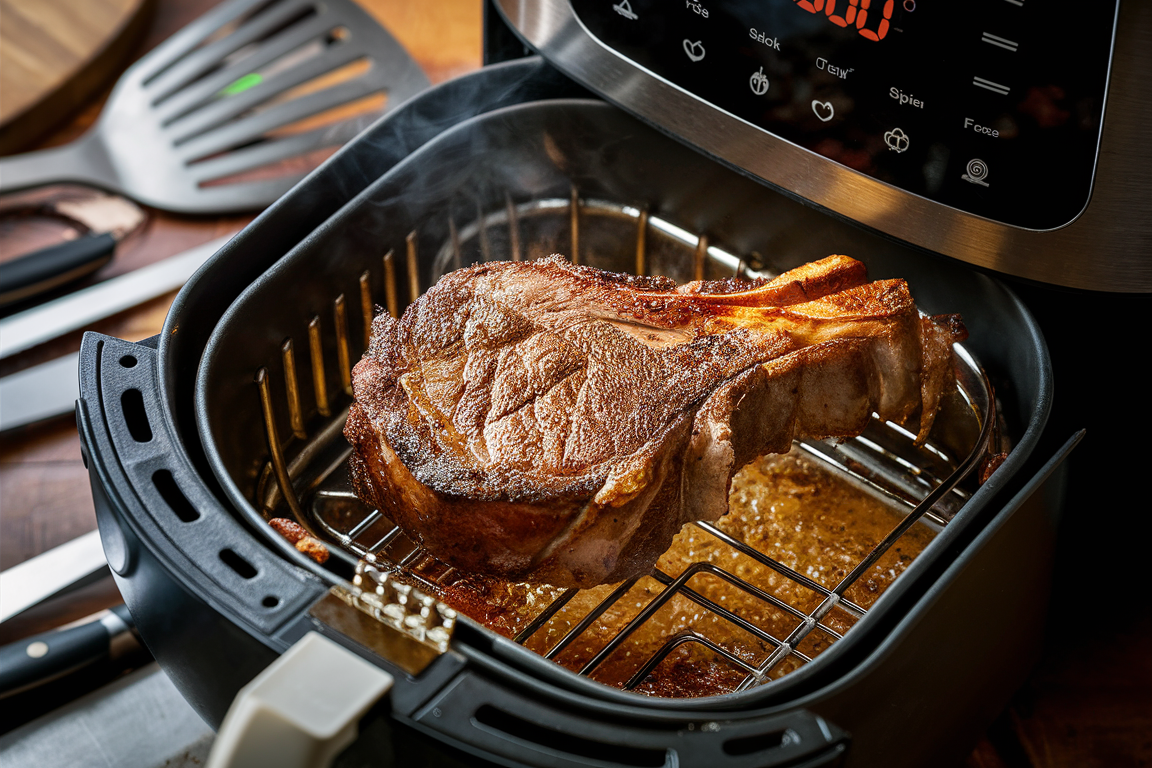
- Rare (120–130°F): Cook at 400°F for 6–8 minutes, flipping halfway.
- Medium-Rare (130–135°F): Cook at 400°F for 8–10 minutes, flipping halfway.
- Medium (135–145°F): Cook at 400°F for 10–12 minutes, flipping halfway.
- Well-Done (155°F+): Cook at 400°F for 12–15 minutes, flipping halfway.
Pro tip: Use a meat thermometer to check the internal temperature for precision. Insert the thermometer into the thickest part of the steak for an accurate reading.
3.2 Cooking Techniques for Medium-Rare, Medium, and Well-Done Steaks
Achieving the perfect doneness comes down to timing and monitoring:
- For medium-rare: Flip the steak after 4 minutes, and check the internal temperature at the 8-minute mark. Remove when it hits 130°F.
- For medium: Flip at the 6-minute mark, and check for 135°F at around 10 minutes.
- For well-done: Cook the steak fully on each side until it reaches 155°F or higher.
Remember, steaks continue to cook slightly after being removed from the air fryer due to carryover heat.
3.3 Flipping the Steak: Timing and Frequency
Flipping the steak halfway through cooking promotes even browning on both sides. Avoid flipping too often, as this can disrupt the cooking process and reduce the steak’s ability to develop a good crust.
Best practices for flipping:
- Use silicone or metal tongs to avoid piercing the steak and losing juices.
- Flip gently to avoid tearing the surface of the steak.
3.4 Using Foil or Parchment Paper for Moisture Retention
If you’re worried about the steak drying out, use a small piece of foil or parchment paper:
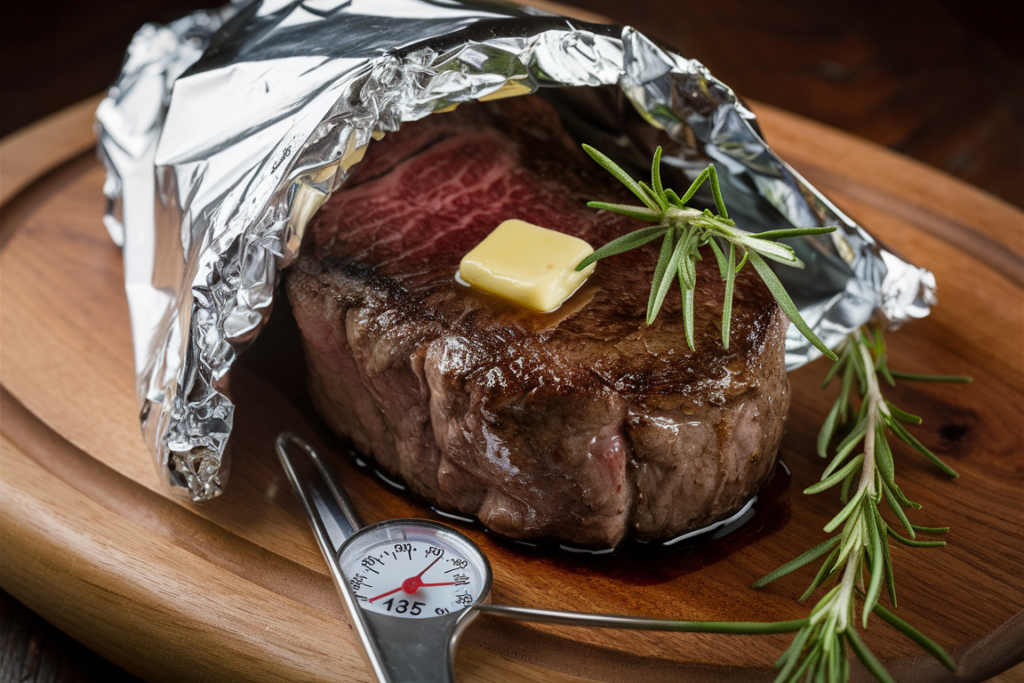
- Foil method: Wrap the steak lightly in foil during cooking to lock in moisture.
- Parchment method: Place a perforated parchment sheet under the steak for easy cleanup and added moisture retention.
Both options help prevent overcooking and maintain juiciness.
3.5 Adding Butter or Aromatics Mid-Cook
For an extra layer of flavor, add butter or aromatics (like garlic or rosemary) halfway through cooking:
- Butter basting: Place a small pat of butter on top of the steak after flipping. It will melt and infuse the steak with richness.
- Aromatic infusions: Add crushed garlic cloves, thyme, or rosemary directly to the basket to enhance flavor.
This technique creates a steak that tastes like it came from a fine steakhouse.
3.6 Adjusting Cooking Time Based on Steak Thickness
Thicker steaks require longer cooking times and slightly lower temperatures to ensure the inside cooks evenly. Conversely, thin steaks need shorter cooking times to prevent overcooking.
Guide for adjustments:
- Add 2–3 minutes for steaks over 1.5 inches thick.
- Reduce cooking time by 2 minutes for steaks thinner than 1 inch.
3.7 How to Check for Doneness Without Overcooking
Using a thermometer is the most reliable way to check for doneness. If you don’t have one, use the finger test:
- Rare: Soft and squishy.
- Medium-Rare: Slight resistance.
- Medium: Firm but springy.
- Well-Done: Very firm with no give.
Avoid cutting into the steak to check doneness, as this releases valuable juices.
3.8 Resting the Steak Post-Cooking for Retained Juices
Once the steak is done, let it rest for 5–10 minutes. This step is essential for redistributing the juices throughout the meat, ensuring every bite is juicy and tender.
How to rest the steak:
- Place it on a cutting board and cover loosely with foil.
- Avoid slicing until the rest time is complete.
3.9 Enhancing Flavor with Post-Cook Seasoning or Glazes
Post-cooking seasoning adds a finishing touch:
- Sprinkle flaky sea salt or crushed black pepper for added crunch and flavor.
- Brush the steak with a glaze made from soy sauce, honey, and garlic for a sweet-savory kick.
Experiment with different finishing techniques to find your favorite combination.
3.10 Tips for Pairing Steak with Sides and Sauces
A great steak deserves equally amazing sides and sauces. Here are some pairing ideas:
- Sides:
- Garlic mashed potatoes
- Roasted asparagus
- Air-fried sweet potato wedges
- Sauces:
- Classic béarnaise or chimichurri for a zesty kick.
- Garlic butter sauce for a rich, creamy finish.
These accompaniments elevate your steak into a complete gourmet meal.
Final Checklist for the Perfect Air Fryer Steak
Before serving your steak, ensure you’ve:
- Cooked it to the desired doneness level.
- Allowed it to rest for 5–10 minutes.
- Enhanced the flavor with post-cooking seasoning or butter.
- Paired it with complementary sides and sauces.
Common Pitfalls to Avoid During Cooking
- Overcrowding the air fryer basket: This reduces airflow and prevents a good sear.
- Skipping flipping: Leads to uneven cooking.
- Ignoring resting time: Results in a dry, unevenly cooked steak.
With these tips and techniques, you’ll never have to worry about a dry or flavorless steak again. Cooking a steak in an air fryer is simple, efficient, and rewarding when done right. Whether you’re aiming for a quick weeknight dinner or a special occasion meal, your air fryer steak will be the highlight of the table.
More FAQs About Cooking Steak in an Air Fryer
- Can I cook frozen steak in an air fryer?
Yes, but add 5–7 minutes to the cooking time and season generously. - What temperature is best for cooking steak in an air fryer?
400°F is ideal for most steak cuts. - How do I reheat steak in an air fryer?
Reheat at 350°F for 3–5 minutes to retain moisture without overcooking. - Should I use foil in my air fryer?
Yes, but ensure it doesn’t block airflow. Use perforated foil if possible. - Do I need to oil the steak before cooking?
A light oil coating enhances browning and prevents sticking. - Can I cook steak with vegetables in the air fryer?
Yes, but ensure the vegetables have similar cooking times or cook them separately. - What’s the best steak thickness for air frying?
1 to 1.5 inches is ideal for even cooking. - How do I prevent smoke in the air fryer?
Avoid excessive oil and clean the basket after each use. - Can I make steak medium-rare in an air fryer?
Absolutely! Follow the 8–10 minute guideline and check for an internal temperature of 130–135°F. - Is marinating necessary for air fryer steak?
Not always, but it enhances flavor, especially for leaner cuts.
Enjoy your perfectly cooked air fryer steak!


